
What will you need?
- Lighted Center LED Light
- 10mm Socket with a Ratchet
- Phillips Head Screwdriver/Drillbit
- Heatshrink/Electrical Tape/Butt Connectors (your preference)
- Interior Removal Tools (Not Required But Makes It Easier)


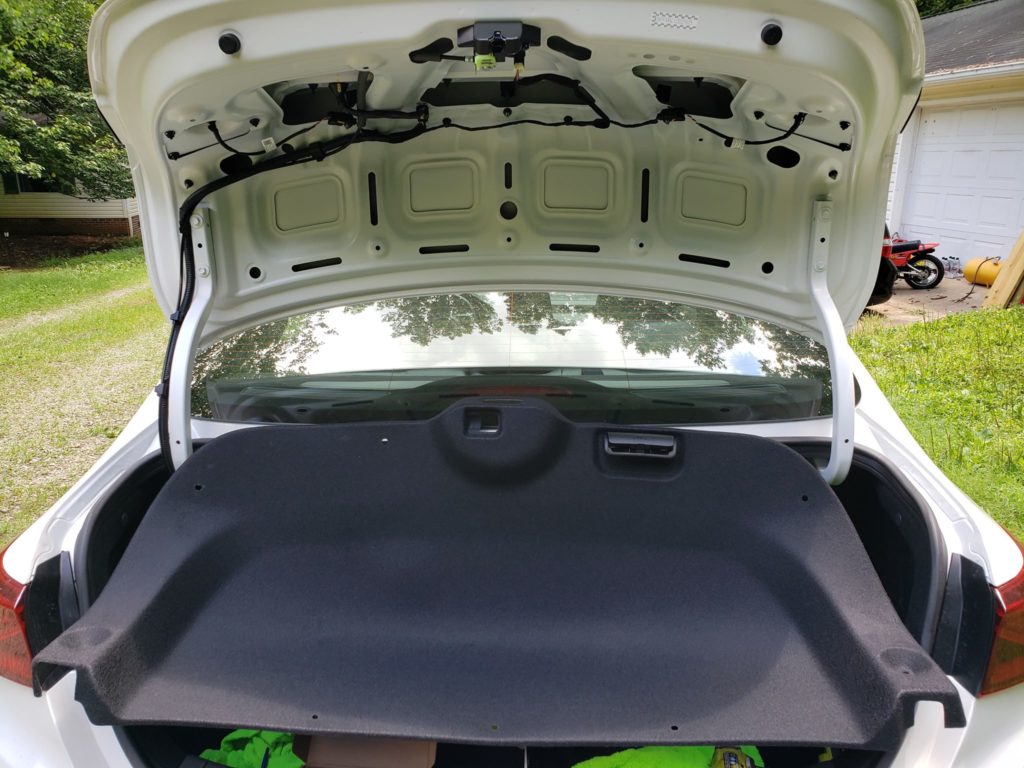
Step #1 – Interior Removal
- Remove the interior clips.
- Pop open the trunk handle and remove both screws.


Step #2 – Tail Light Removal
- You will need to remove both lights which is 3 10mm nuts.
- After removing the outer trunk lights you will be able to be able to remove the center light by pulling it straight out.


Step #3 – Taking The Light Apart
- Unplug the connectors for the light and pull the wiring plug out.
- Remove screws and the plastic clips to separate the center reflector
- Also remove the white clip (shown below) and use it on the light
- Now clip in the new center LED light and you are ready to install!
Having problems putting your light back together? click here


Step #4 – Reinstalling the light
- Run wire through the grommet for the trunk lid
- Wiring diagram has been included below


Ok the rest of this is just reversing everything you did with the exception of wiring up the lights. I would assume if you decided to do this install yourself you are comfortable with wiring and can hook up the lights as needed by viewing my wiring diagram. I only wired in the power wire due to the lights on the trunk lid do not have any functions besides just being lit up. So I thought it look out of place to use the center light functions. If you have any questions feel free to ask!